

Introduction
In recent years, the field of artificial intelligence has experienced an extraordinary surge in growth, driven by the rapid advancement and democratization of Large Language Models (LLMs).
This transformative wave in AI owes much of its momentum to the emergence of Transformers, which have unlocked the potential of generative AI, ushering in an era of boundless innovation and endless possibilities.
Leading this charge is ChatGPT, which offers both a free and paid version and has played a pivotal role in making generative AI accessible to the masses. However, it is not alone in this revolutionary journey. Open-source LLMs have been steadily advancing, promising to reshape the AI landscape in profound ways.
One of the primary concerns in the realm of AI and LLMs is data and customer privacy. Many organizations are understandably cautious about entrusting their data to third-party providers, especially when it involves sensitive information.
Open-source LLMs, driven by community collaboration and transparency, aim to address these concerns by enabling users to deploy their own instances of these models. This approach has gained traction as more organizations seek responsible AI solutions.
In this article, we will explore the deployment of open-source LLMs, with a specific focus on Llama 2, Meta's response to the likes of ChatGPT.
While I was able to deploy Databricks Dolly using similar steps, the results were not as promising as those obtained with Llama 2.
Llama 2
Llama 2 is freely available for almost anyone to use for research and commercial purposes, offering impressive capabilities to users. With a selection of pre-trained and fine-tuned Language Model Models (LLMs), ranging from 7 billion to 70 billion parameters, Llama 2 has been designed to outperform existing open-source chat models across a wide spectrum of benchmarks.
To begin your journey with Llama 2, you'll first need to request access via Meta's website at Meta's Llama 2 Downloads. It's crucial to use your Hugging Face email address when making this request.
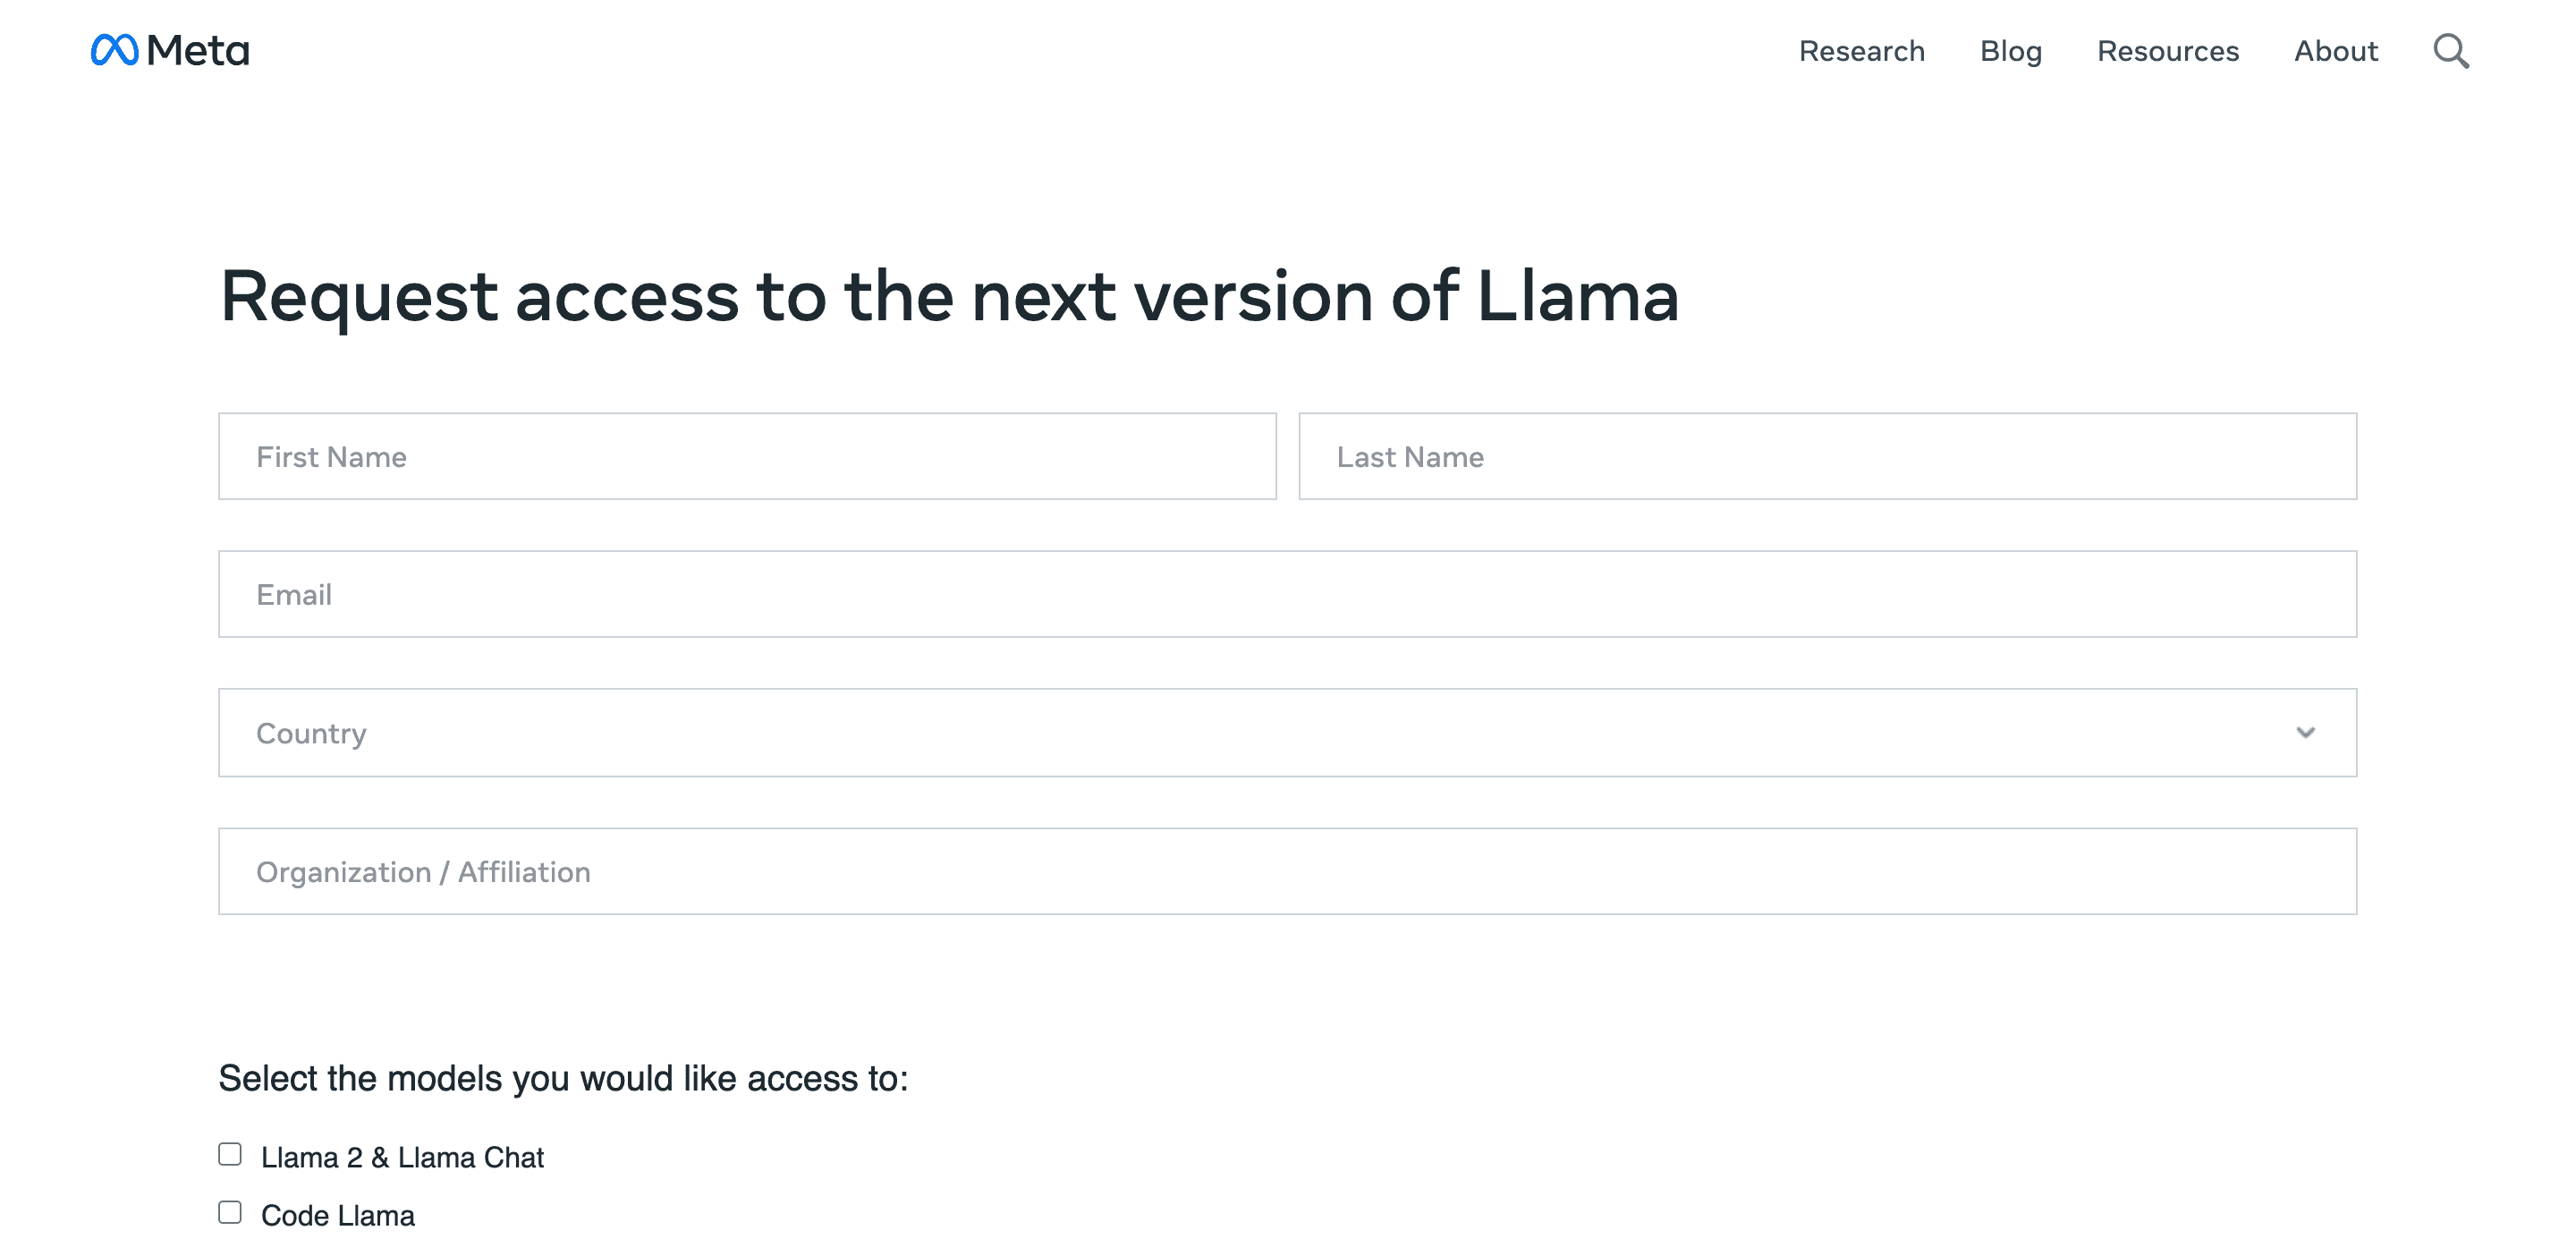
Once you receive confirmation from Meta, proceed to request access to the model on the Hugging Face website at Llama 2 on Hugging Face. Once you receive confirmation from Hugging Face, you'll be ready to embark on the tutorial and unlock the full potential of Llama 2.

Implementing the Infrastructure
Creating the SageMaker Role
We'll kick off our infrastructure setup by creating a SageMaker role. If you already have one, feel free to skip this step. Here's how to do it:
# ------------------------------------------------------------------------------
# IAM role
# ------------------------------------------------------------------------------
data "aws_iam_policy_document" "sagemaker" {
  statement {
    actions = ["sts:AssumeRole"]
    principals {
      type        = "Service"
      identifiers = ["sagemaker.amazonaws.com"]
    }
  }
}

resource "aws_iam_role" "sagemaker" {
  name               = local.sagemaker_execution_role_name
  assume_role_policy = data.aws_iam_policy_document.sagemaker.json
}

resource "aws_iam_role_policy_attachment" "sagemaker" {
  role       = aws_iam_role.sagemaker.name
  policy_arn = "arn:aws:iam::aws:policy/AmazonSageMakerFullAccess"
}
Configuring SageMaker Model and Endpoint with Hugging Face Image
We will utilize a prebuilt Hugging Face Text-Generation-Inference (TGI) image in SageMaker. Here's how to set up the configuration:
# ------------------------------------------------------------------------------
# Huggingface image configuration
# ------------------------------------------------------------------------------
locals {
  pytorch_version           = "2.0.1"
  tgi_version               = "1.0.3"
  sagemaker_ecr_registry_id = "763104351884.dkr.ecr.us-east-1.amazonaws.com"
  inference_image_name      = "huggingface-pytorch-tgi-inference"
  inference_image_version   = "${local.pytorch_version}-tgi${local.tgi_version}-gpu-py39-cu118-ubuntu20.04"
  inference_image           = "${local.sagemaker_ecr_registry_id}/${local.inference_image_name}:${local.inference_image_version}"
}
Now, let's proceed with creating the SageMaker model:
# ------------------------------------------------------------------------------
# Sagemaker model
# ------------------------------------------------------------------------------
resource "aws_sagemaker_model" "model" {
  name               = local.sagemaker_model_name
  execution_role_arn = aws_iam_role.sagemaker.arn

  primary_container {
    image = local.inference_image
    environment = {
      HF_MODEL_ID                   = local.hugging_face_model_id
      HUGGING_FACE_HUB_TOKEN        = local.hugging_face_hub_token
      SM_NUM_GPUS                   = local.sagemaker_endpoint_instance_gpus
      MAX_INPUT_LENGTH              = local.hugging_face_model_max_input_length
      MAX_TOTAL_TOKENS              = local.hugging_face_model_max_total_tokens
      SAGEMAKER_CONTAINER_LOG_LEVEL = 20
      SAGEMAKER_REGION              = local.sagemaker_region
    }
  }
}
(Note: Ensure that MAX_INPUT_LENGTH is set to a value less than MAX_TOTAL_TOKENS)
Finally, let's create the SageMaker endpoint and its configuration:
# ------------------------------------------------------------------------------
# Sagemaker Endpoint
# ------------------------------------------------------------------------------
resource "aws_sagemaker_endpoint_configuration" "huggingface" {
  name = "${local.sagemaker_inference_endpoint_name}-config"

  production_variants {
    variant_name                                      = "AllTraffic"
    container_startup_health_check_timeout_in_seconds = 300
    model_name                                        = aws_sagemaker_model.model.name
    initial_instance_count                            = local.aws_sagemaker_endpoint_initial_instance_count
    instance_type                                     = local.aws_sagemaker_endpoint_instance_type
  }
}

resource "aws_sagemaker_endpoint" "huggingface" {
  name                 = local.sagemaker_inference_endpoint_name
  endpoint_config_name = aws_sagemaker_endpoint_configuration.huggingface.name
}
Lastly, deploy the configuration. Please be patient during startup, as the time required depends on the chosen instance. You'll need to wait until the endpoint is up and running.
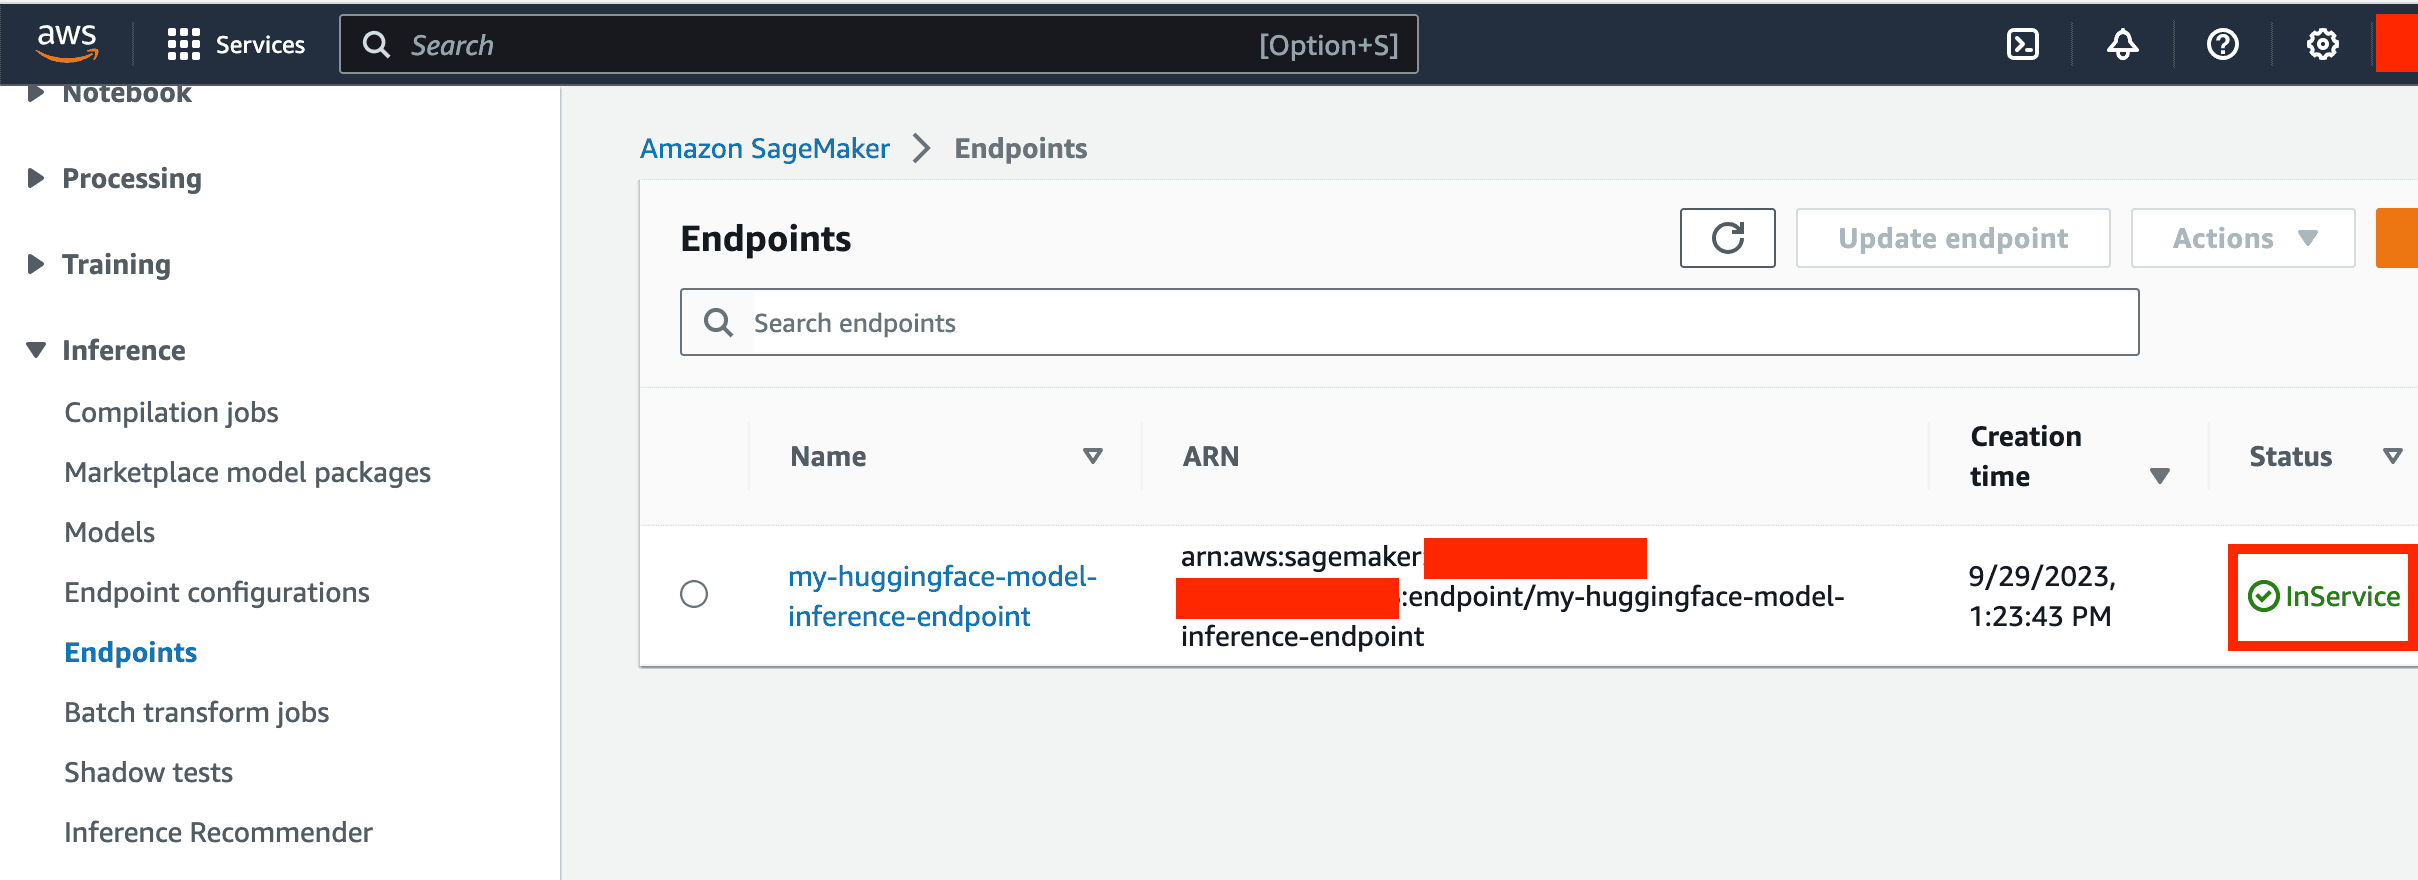
Inference with the Model
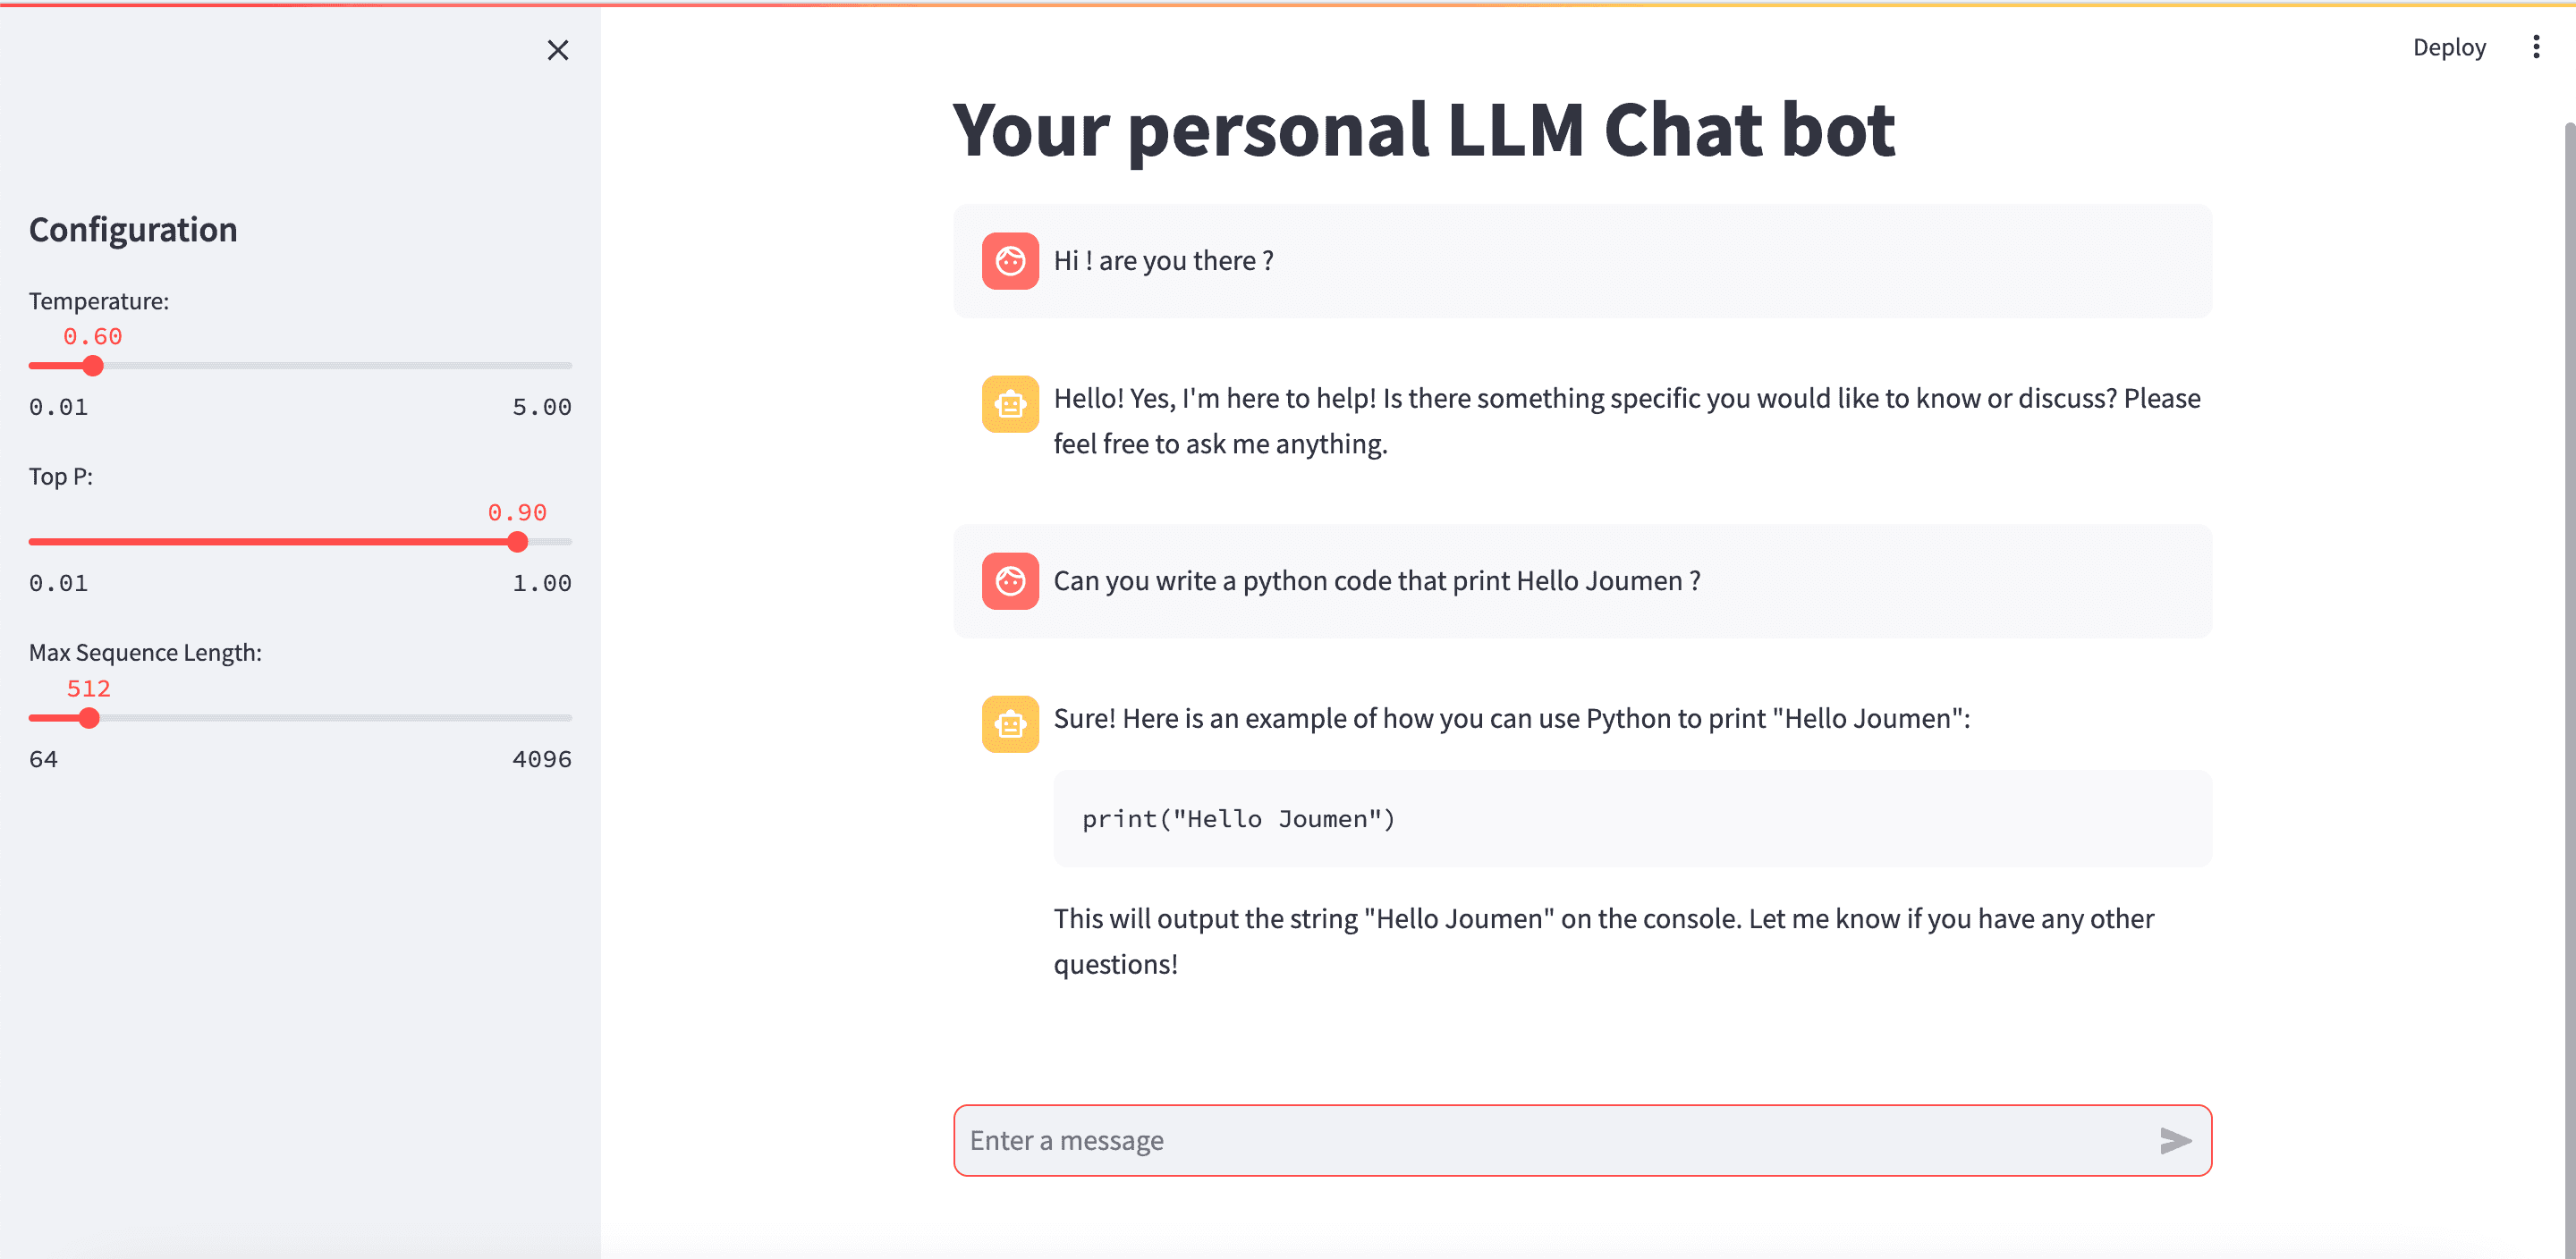
Now that your endpoint is up and running, you can seamlessly integrate inference into your favorite ChatBot UI. I've personally created one using Streamlit, leveraging various open-source resources available on GitHub and ChatGPT. To assist you in integrating inference into your chatbot, here's a handy Python code snippet:
def invoke_sagemaker_endpoint(content):
    payload = json.dumps(content)

    response = sagemaker_client.invoke_endpoint(
        EndpointName=endpoint_name,
        ContentType='application/json',
        Body=bytes(payload,"utf-8")
    )

    response_body = response['Body'].read()
    return json.loads(response_body)
Ensure that your content is formatted in a way that's compatible with your model's expectations. The results I obtained were truly fascinating, even when using a relatively small LLM ( with GPTQ ) and a relatively small EC2 machine.
Conclusion
In conclusion, deploying your own private LLM chatbot using AWS SageMaker, Hugging Face, and Terraform opens up exciting possibilities in the realm of AI and natural language processing. With the power of open-source LLMs like Llama 2, you can take control of your AI solutions while ensuring data and customer privacy. This article has provided a step-by-step guide to get you started on this transformative journey.
Misuse of SageMaker can potentially incur significant costs. It is crucial to exercise caution and implement cost-control measures when working with it. If you need assistance in deploying your own private LLM chatbot, feel free to reach me out. I'm here to help!
Update
As I was in the process of writing this article, a series of noteworthy events have unfolded in the world of AI and technology: Hugging Face has open-sourced their Universal ChatBot UI, and Mistral AI has introduced its open-source LLM. Interestingly, this LLM appears to outperform Llama 2, making it a compelling option worth exploring. Also AWS released Bedrock as GA!, which i think it worths a try.
Disclaimer
The information presented in this article is intended for informational purposes only. I assume no responsibility or liability for any use, misuse, or interpretation of the information contained herein.