

Introduction
The race to create AI coding assistants that help us write computer code faster and better is heating up, and one of the promising candidates in this exciting field is Tabby. In this article, we’ll delve into the process of deploying Tabby on AWS ECS using Terraform, then integrate it in VSCode, taking advantage of its capabilities to enhance our development workflow.
Tabby
Tabby offers a highly customizable, self-hosted alternative to GitHub Copilot. Unlike proprietary alternatives, Tabby is open-source and works seamlessly with major Coding Large Language Models (LLMs), such as CodeLlama, StarCoder, and CodeGen. Tabby has an IDE extension, it achieves accurate streaming and cancellation with an adaptive caching strategy to ensure rapid completion.
Code Llama
Code Llama is a large language model (LLM) built on top of Llama 2, fine-tuned for generating and discussing code. We will use Code Llama via Tabby.
Implementing the Infrastructure
Configuring Tabby Container
To begin our journey towards deploying Tabby, we'll use the configuration below.
We'll use Tabby's official image, tabbyml/tabby, with the model, TabbyML/CodeLlama-7B.
# ------------------------------------------------------------------------------
# Tabby Configuration
# ------------------------------------------------------------------------------
locals {
    tabby_llm_model       = "TabbyML/CodeLlama-7B"
    tabby_container_image = "tabbyml/tabby"
    tabby_container_name  = "tabby"
    tabby_container_port  = 8080
}
Creating the security groups
We'll create two security groups: one for the Application Load Balancer (ALB) and another for the ECS EC2 instances. First, we'll create the security group for the ALB, allowing ingress traffic from your IP address:
# ------------------------------------------------------------------------------
# ALB Security group
# ------------------------------------------------------------------------------
resource "aws_security_group" "alb_sg" {
  name_prefix = local.alb_security_group_name_prefix
  vpc_id      = local.vpc_id

  ingress {
    from_port   = local.alb_port
    to_port     = local.alb_port
    protocol    = "tcp"
    cidr_blocks = [local.my_ip_address]
  }

  egress {
    from_port   = 0
    to_port     = 0
    protocol    = "-1"
    cidr_blocks = ["0.0.0.0/0"]
  }
}
Next, we'll create the security group that allows traffic from the ALB to the ECS instances:
# ------------------------------------------------------------------------------
# ECS EC2 instances Security Group
# ------------------------------------------------------------------------------
resource "aws_security_group" "instance_sg" {
  name_prefix = local.instances_security_group_name_prefix
  vpc_id      = local.vpc_id

  ingress {
    from_port       = 32768
    to_port         = 65535
    protocol        = "tcp"
    security_groups = [aws_security_group.alb_sg.id]
  }

  egress {
    from_port   = 0
    to_port     = 0
    protocol    = "-1"
    cidr_blocks = ["0.0.0.0/0"]
  }
}
Creating the IAM roles
We will need to create two IAM roles: one for ECS instances and one for ECS tasks. They grant the necessary permissions to perform the different actions in ECS. First, let's create an IAM role for the ECS instances:
# ------------------------------------------------------------------------------
# ECS EC2 instances role
# ------------------------------------------------------------------------------
data "aws_iam_policy_document" "instance_role_policy" {
  statement {
    actions = ["sts:AssumeRole"]
    effect  = "Allow"

    principals {
      type        = "Service"
      identifiers = ["ec2.amazonaws.com"]
    }
  }
}

resource "aws_iam_role" "instance_role" {
  name               = local.instance_role_name
  assume_role_policy = data.aws_iam_policy_document.instance_role_policy.json
}

resource "aws_iam_role_policy_attachment" "instance_role_policy" {
  role       = aws_iam_role.instance_role.name
  policy_arn = "arn:aws:iam::aws:policy/service-role/AmazonEC2ContainerServiceforEC2Role"
}

resource "aws_iam_role_policy_attachment" "instance_role_for_ssm_policy" {
  role       = aws_iam_role.instance_role.name
  policy_arn = "arn:aws:iam::aws:policy/service-role/AmazonEC2RoleforSSM"
}

resource "aws_iam_instance_profile" "instance_role_profile" {
  name = local.instance_role_name
  role = aws_iam_role.instance_role.id
}
Next, We'll create an execution role for the ECS task:
# ------------------------------------------------------------------------------
# Tabby ECS Task Execution Role
# ------------------------------------------------------------------------------
data "aws_iam_policy_document" "ecs_task_assume_role_policy" {
  statement {
    actions = ["sts:AssumeRole"]

    principals {
      type        = "Service"
      identifiers = ["ecs-tasks.amazonaws.com"]
    }
  }
}

resource "aws_iam_role" "ecs_task_execution_role" {
  name               = local.ecs_task_execution_role_name
  assume_role_policy = data.aws_iam_policy_document.ecs_task_assume_role_policy.json
}

resource "aws_iam_role_policy_attachment" "ecs_task_execution_role_policy" {
  role       = aws_iam_role.ecs_task_execution_role.name
  policy_arn = "arn:aws:iam::aws:policy/service-role/AmazonECSTaskExecutionRolePolicy"
}
Creating the ALB
Let's create the ALB:
# ------------------------------------------------------------------------------
# ALB
# ------------------------------------------------------------------------------
resource "aws_alb" "alb" {
  name            = local.alb_name
  subnets         = local.dmz_subnets_ids
  security_groups = [aws_security_group.alb_sg.id]
}
We'll also set up a target group for the EC2 instances that will host Tabby:
# ------------------------------------------------------------------------------
# ALB Target Group
# ------------------------------------------------------------------------------
resource "aws_alb_target_group" "tabby" {
  name_prefix = local.target_group_name_prefix
  port        = local.alb_port
  protocol    = "HTTP"
  vpc_id      = local.vpc_id
  depends_on  = [aws_alb.alb]

  health_check {
    path                = "/v1/health"
    healthy_threshold   = 2
    unhealthy_threshold = 10
    timeout             = 60
    interval            = 300
    matcher             = "200"
  }
}
We'll also create the ALB listener to route traffic to our Tabby target group:
# ------------------------------------------------------------------------------
# ALB Listener
# ------------------------------------------------------------------------------
resource "aws_alb_listener" "alb_listener" {
  load_balancer_arn = aws_alb.alb.id
  port              = local.alb_port
  protocol          = "HTTP"

  default_action {
    target_group_arn = aws_alb_target_group.tabby.id
    type             = "forward"
  }
}
Creating the ECS cluster
Create an ECS cluster with this code below:
# ------------------------------------------------------------------------------
# ECS Cluster
# ------------------------------------------------------------------------------
resource "aws_ecs_cluster" "cluster" {
  name = local.cluster_name
}
Creating the launch template and the auto scaling group
To make the most of cost efficiency, we'll utilize Spot Instances. Create a launch template:
# ------------------------------------------------------------------------------
# Get most recent AMI for an ECS-optimized Amazon Linux 2 GPU instance
# ------------------------------------------------------------------------------
data "aws_ami" "latest_amazon_linux_2" {
  most_recent = true
  filter {
    name   = "virtualization-type"
    values = ["hvm"]
  }
  filter {
    name   = "owner-alias"
    values = ["amazon"]
  }
  filter {
    name   = "name"
    values = ["amzn2-ami-ecs-gpu-hvm-*-x86_64-ebs"]
  }
  owners = ["amazon"]
}

# ------------------------------------------------------------------------------
# EC2 instances launch template
# ------------------------------------------------------------------------------
resource "aws_launch_template" "launch_template" {
  name_prefix = local.launch_template_name_prefix
  image_id    = data.aws_ami.latest_amazon_linux_2.id

  instance_type = local.instance_type
  instance_market_options {
    market_type = "spot"
    spot_options {
      max_price = local.instance_max_spot_price
    }
  }

  vpc_security_group_ids = [aws_security_group.instance_sg.id]
  iam_instance_profile {
    arn = aws_iam_instance_profile.instance_role_profile.arn
  }

  block_device_mappings {
    device_name = "/dev/xvda"
    ebs {
      volume_size = local.instance_ebs_size
      volume_type = "gp2"
    }
  }

  user_data = base64encode(templatefile("./user_data.tpl", {
    ecs_cluster = aws_ecs_cluster.cluster.name
  }))

}
The user data, essential for ECS EC2 instances, is defined in the user_data.tpl file.
The script looks like this:
#!/bin/bash
echo ECS_CLUSTER=${ecs_cluster} >> /etc/ecs/ecs.config
echo ECS_ENABLE_GPU_SUPPORT="true" >> /etc/ecs/ecs.config
Create an autoscaling group to launch the instances:
# ------------------------------------------------------------------------------
# Autoscaling group to launch the instances
# ------------------------------------------------------------------------------
resource "aws_autoscaling_group" "asg" {
  name = local.asg_name

  desired_capacity    = local.instances_count
  max_size            = local.instances_count
  min_size            = local.instances_count
  vpc_zone_identifier = local.back_subnets_ids

  launch_template {
    id      = aws_launch_template.launch_template.id
    version = "$Latest"
  }
}
Creating the ECS service
Our Tabby deployment involves setting up an ECS service. We'll start by creating a task definition that defines how the Tabby container should run:
# ------------------------------------------------------------------------------
# Tabby Task Defintion
# ------------------------------------------------------------------------------
resource "aws_ecs_task_definition" "task_definition" {
  family = local.task_definition_name

  network_mode             = "bridge"
  requires_compatibilities = ["EC2"]
  execution_role_arn       = aws_iam_role.ecs_task_execution_role.arn

  container_definitions = jsonencode([{
    name      = local.tabby_container_name
    image     = local.tabby_container_image
    memory    = local.tabby_container_memory
    cpu       = local.tabby_container_cpu
    command   = ["serve", "--model", local.tabby_llm_model, "--device", "cuda"]
    essential = true
    portMappings = [{
      hostPort      = 0
      containerPort = local.tabby_container_port
      protocol      = "tcp"
    }]
    resourceRequirements = [
      {
        "type"  = "GPU"
        "value" = local.instance_gpus_cores
      }
    ]
    logConfiguration = {
      logDriver = "awslogs"
      options = {
        "awslogs-group"         = local.tabby_container_log_group,
        "awslogs-region"        = local.aws_region,
        "awslogs-stream-prefix" = "ecs"
      }
    }
  }])
}

# ------------------------------------------------------------------------------
# Tabby Task Log Group
# ------------------------------------------------------------------------------
resource "aws_cloudwatch_log_group" "tabby" {
  name              = local.tabby_container_log_group
  retention_in_days = 1
}
Finally, create the ECS Service.
# ------------------------------------------------------------------------------
# Tabby ECS Service
# ------------------------------------------------------------------------------
resource "aws_ecs_service" "service" {
  name            = local.service_name
  cluster         = aws_ecs_cluster.cluster.id
  task_definition = aws_ecs_task_definition.task_definition.arn
  launch_type     = "EC2"
  desired_count   = local.tabby_tasks_count

  load_balancer {
    target_group_arn = aws_alb_target_group.tabby.arn
    container_name   = local.tabby_container_name
    container_port   = local.tabby_container_port
  }
}
Deployment and Testing
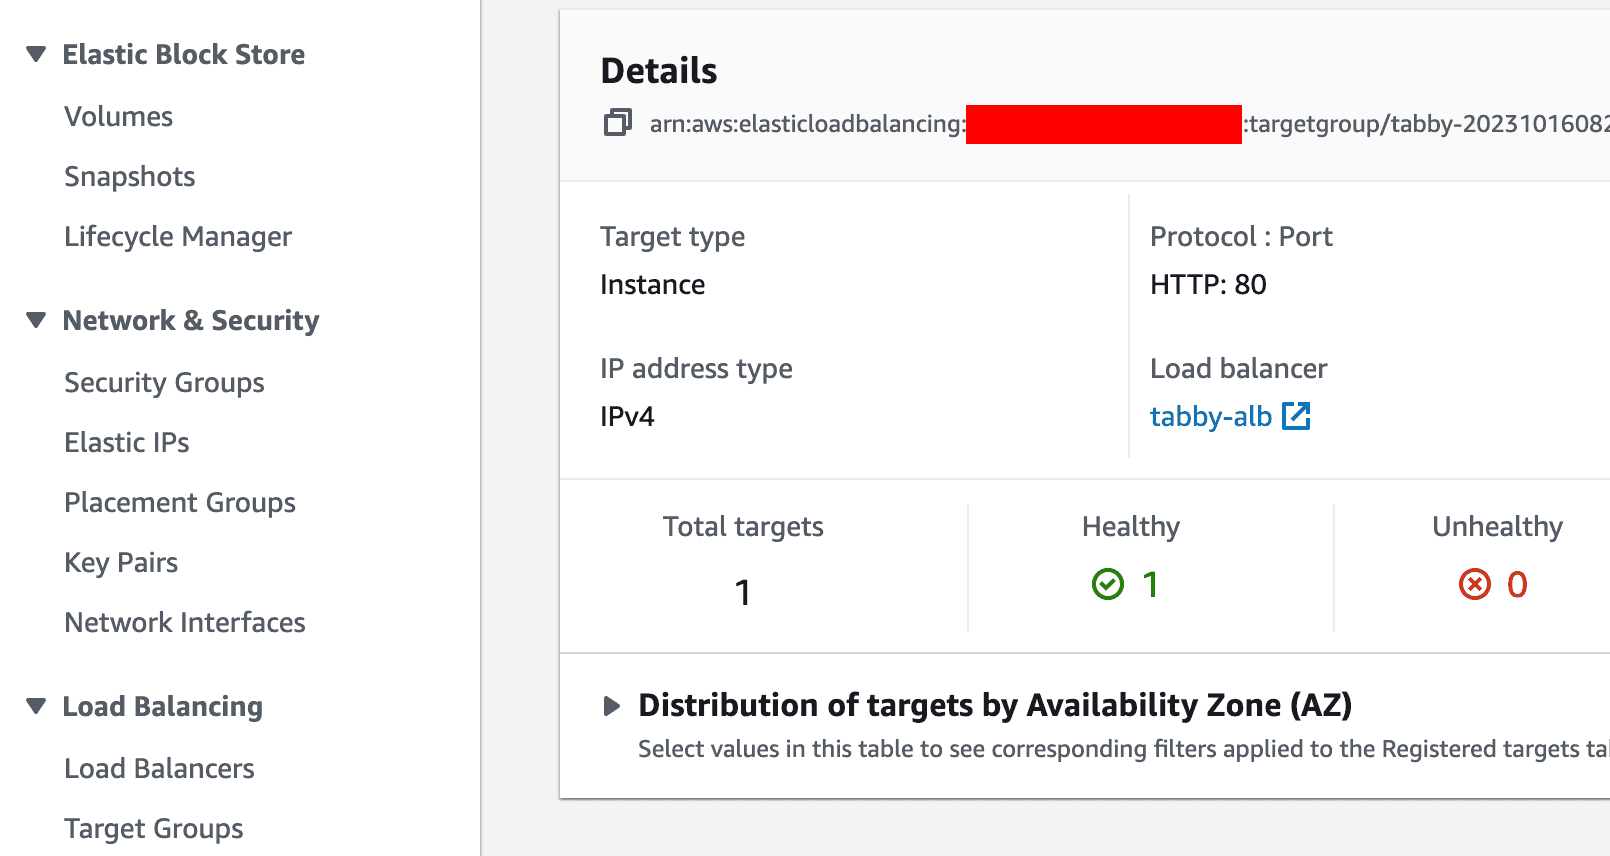
With the configuration in place, it's time to deploy and test our infrastructure. Please be patient during the provisioning process as it may take some time. You'll need to wait until the target group shows a "healthy" status.
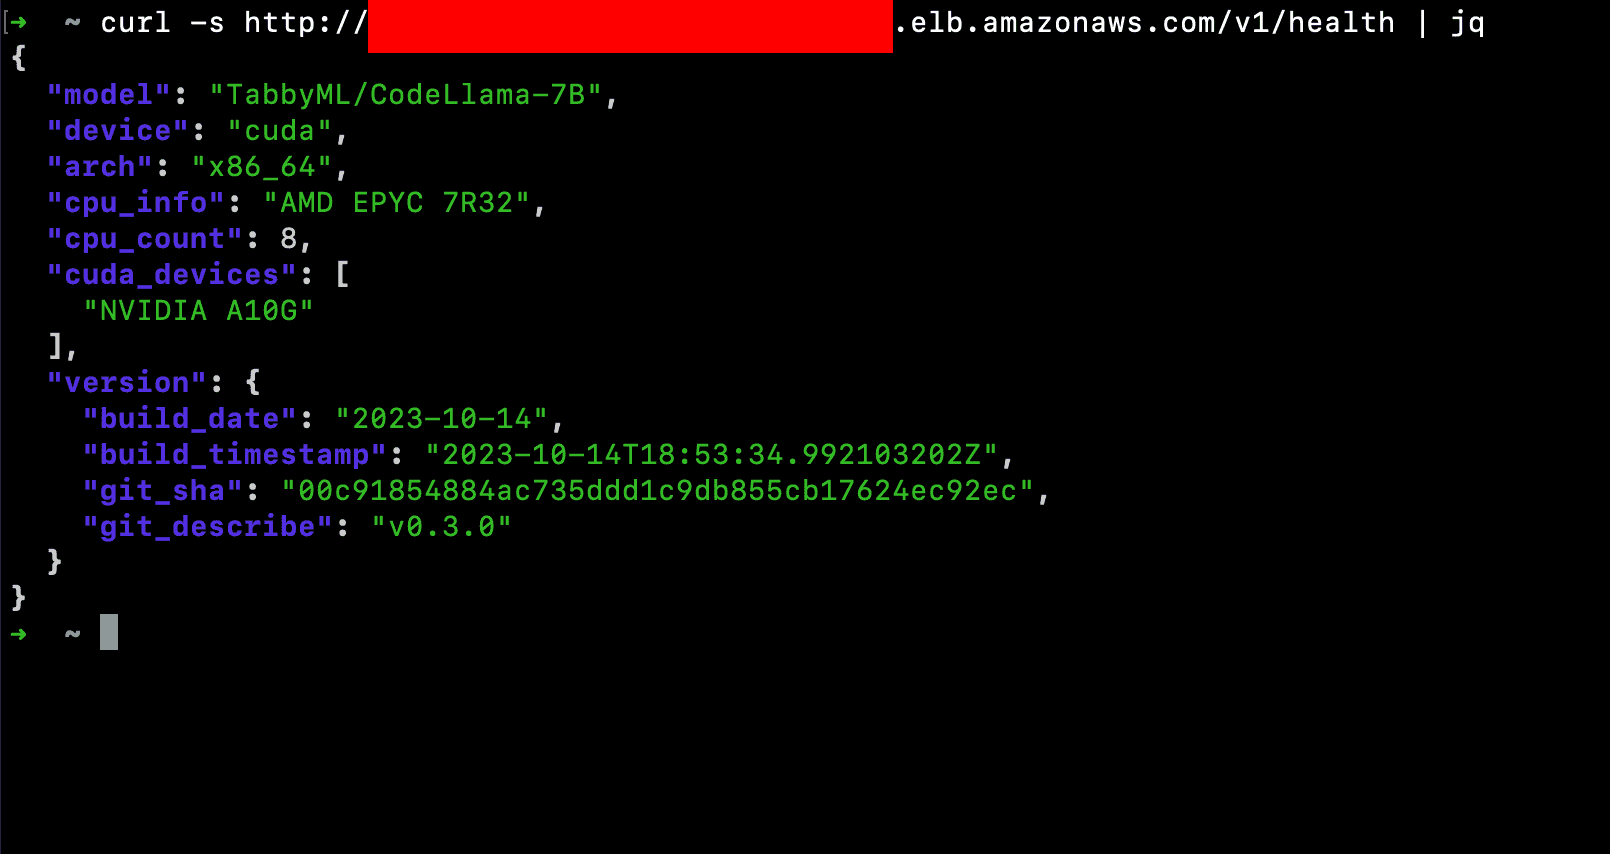
To confirm that everything is working as expected, you can use the following command to test the health of your deployment:
curl -s http://your_load_balancer_domain_name/v1/health | jqYou will need to have a similar reponse:
Integrating Tabby in VSCode
Now that we've deployed Tabby on AWS ECS, let's explore how to integrate it with VSCode. In this section, we'll cover the steps to install and configure the Tabby VSCode extension, as well as how to use it to get inline suggestions and automate code completion.
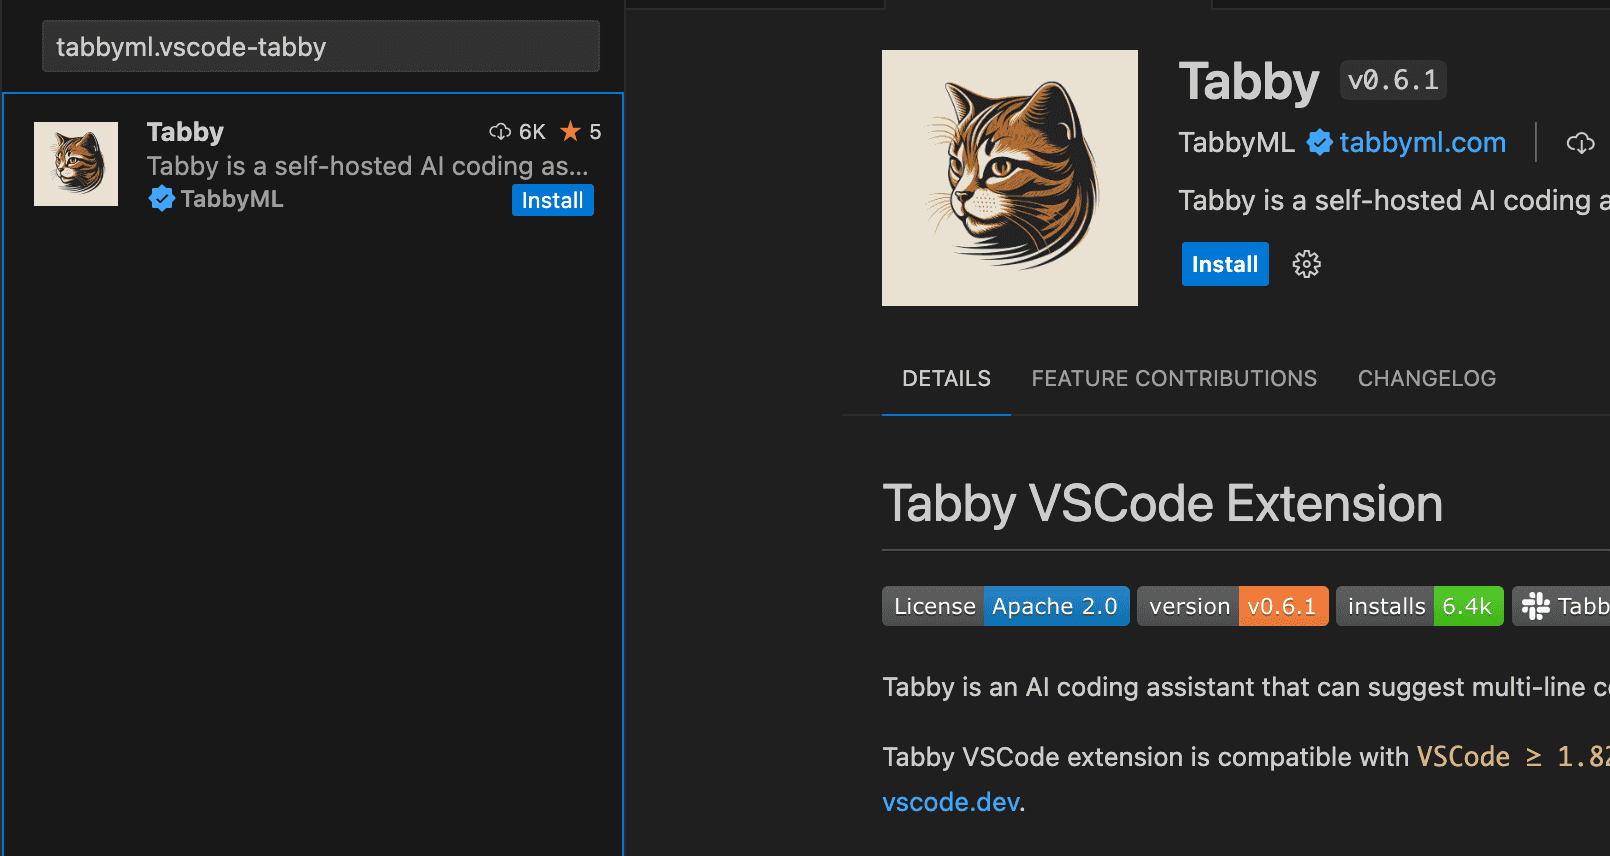
Installing the Extension
To get started, we need to install the Tabby VSCode extension. The extension's identifier is tabbyml.vscode-tabby, so we can easily find it in the VSCode marketplace. Once installed, we'll see a new icon in the left sidebar of VSCode, which represents the Tabby extension.
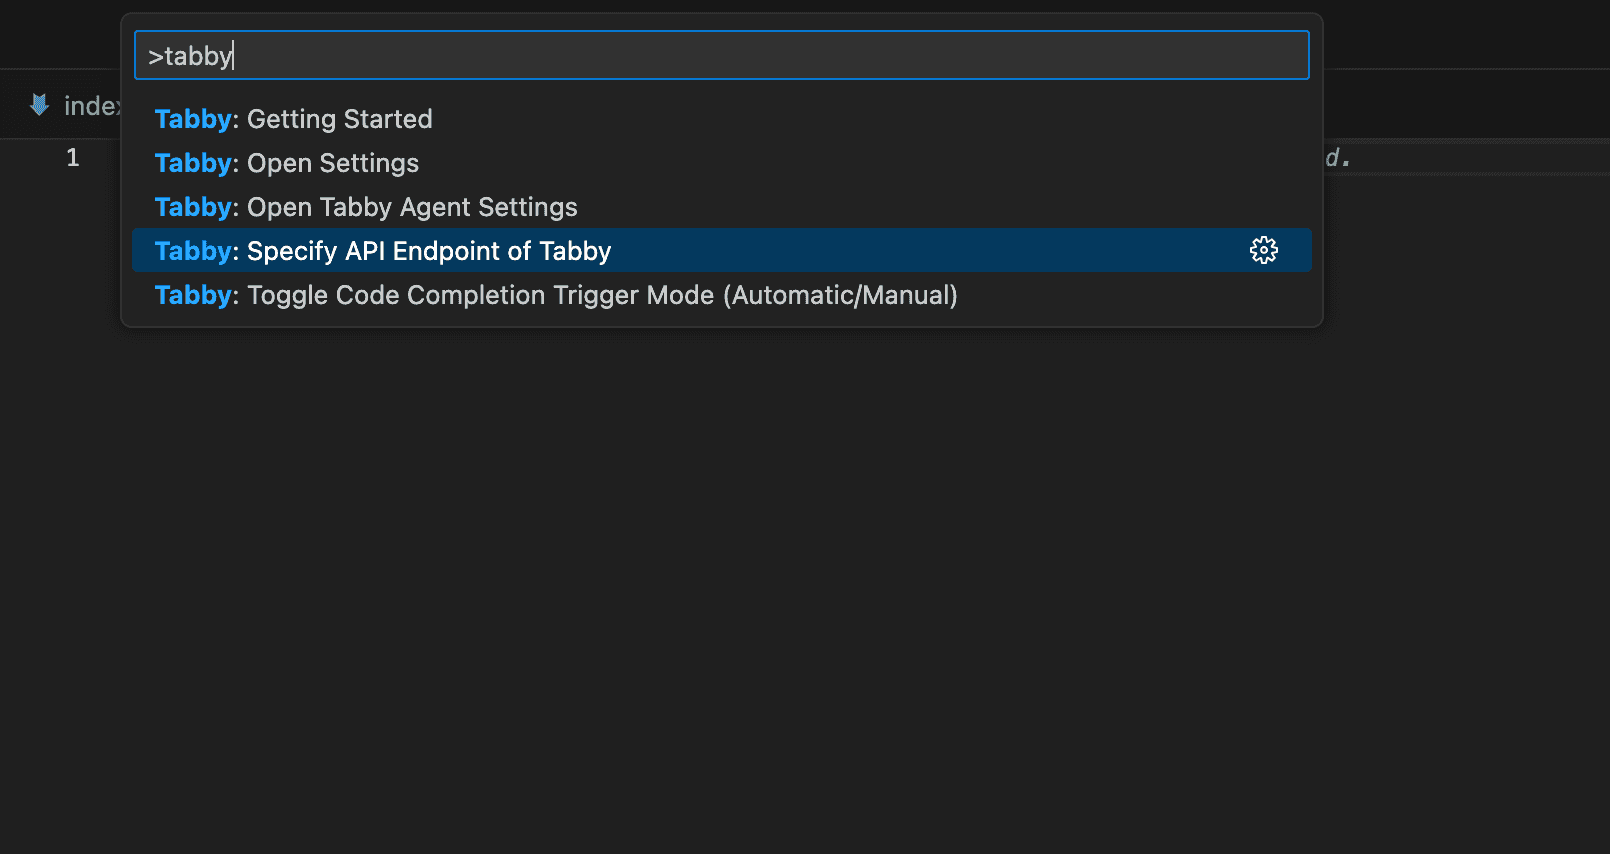
Configuring the Extension
Next, we need to configure the extension to connect to our Tabby server. To do this, we'll use the command Tabby: Specify API Endpoint of Tabby. This command will prompt us to enter the URL of our Tabby server. Once we've entered the URL, the extension will establish a connection to the server and be ready to provide inline suggestions.
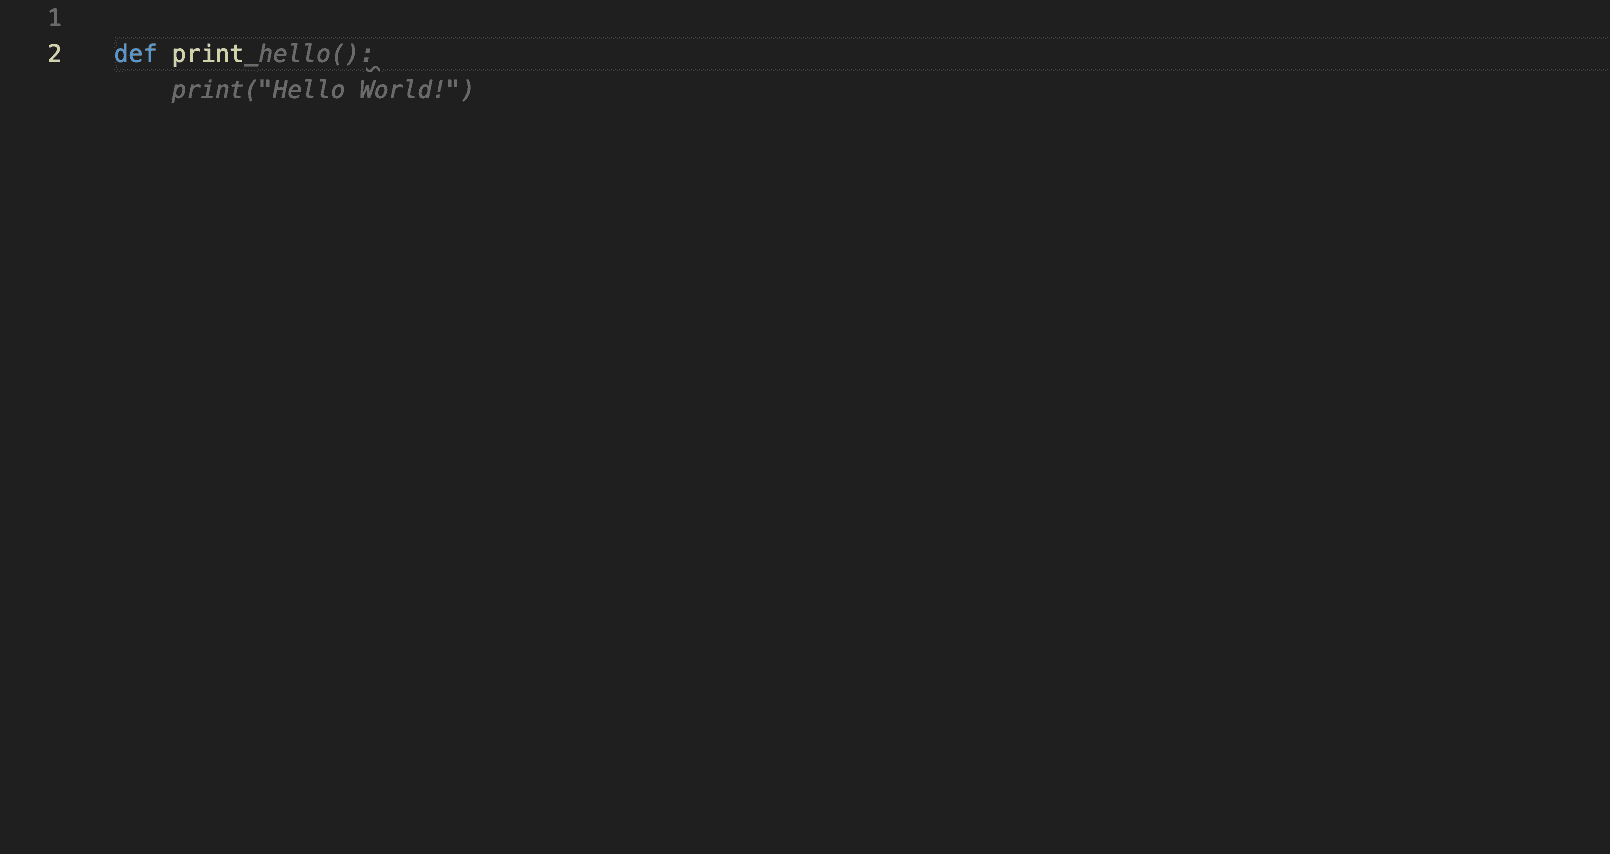
Using the Extension
With the setup complete, Tabby will now automatically provide inline suggestions as we type. We can accept these suggestions by simply pressing the Tab key. Alternatively, if we prefer to trigger code completion manually, we can select the manual trigger option in the settings.
Conclusion
In this article, we've explored the exciting world of AI coding assistants, with a particular focus on Tabby - an open-source alternative to proprietary coding assistants. With the power of Tabby, we can significantly enhance our development workflow, making it a valuable addition to any developer's toolkit. If you need assistance in deploying Tabby, feel free to reach me out. I'm here to help!
Disclaimer
The information presented in this article is intended for informational purposes only. I assume no responsibility or liability for any use, misuse, or interpretation of the information contained herein.